

-80x69.png)
Speed bumps are an easy approach to improve safety and reduce traffic in business zones, residential neighborhoods, and schools. The installation process may vary depending on the kind of road, such as gravel, concrete, or asphalt. For the bumps to be adequately covered and last a long time, certain equipment, supplies, and techniques are needed for each surface. This article provides a clear, detailed explanation of how to install speed bump & humps on different kinds of roads. This will allow you to create a safe and effective traffic flow control system.
What are Speed Bumps & Humps?
Speed bumps and speed humps are elevated portions of the road that slow cars down. They help keep drivers and pedestrians safe. Although their duties are similar, speed bumps have varied designs and uses. They are typically one to three feet broad and three to six inches high, and they have both high and low components. They are ideal for low-speed zones, such as gated communities, private roads, and parking lots, where cars must slow down to 25 mph.
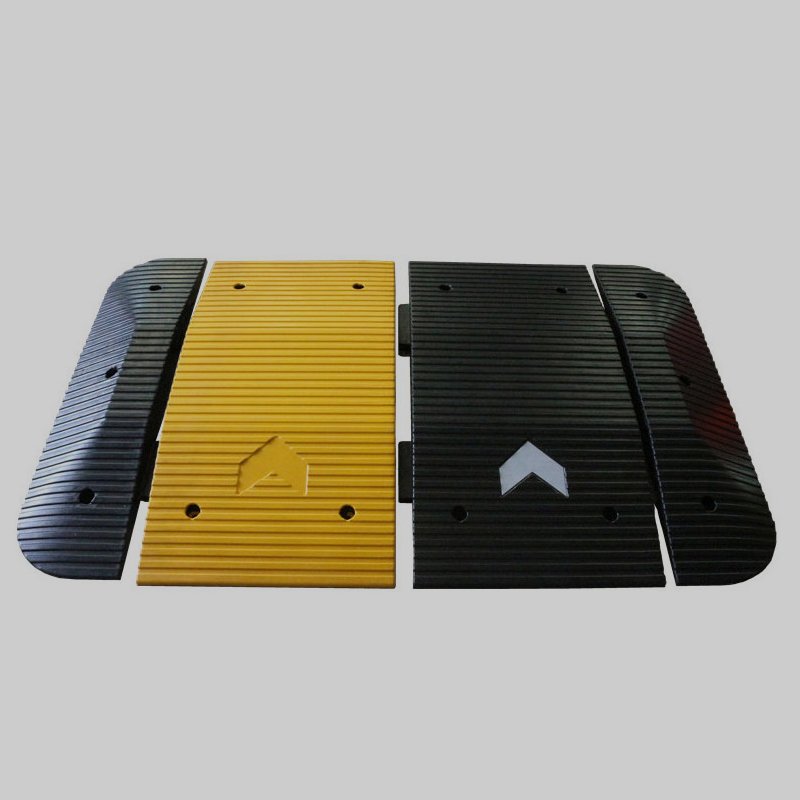

Speed humps often have a smoother slope because they are shorter and wider (between 10 and 14 feet). Since cars can flip at speeds between 10 and 20 mph without any problems, this tactic is perfect for use on public highways, in residential areas, and near schools. Because they promote safer driving practices and lower the risk of accidents, they are also useful instruments for activity control.
Common Tools & Materials Needed For Road Bump Installation
A few essential tools and materials appropriate for the different types of roads will be needed for the proper installation of speed bumps. A circular saw for cutting asphalt and a hammer drill or power drill for inserting anchors are essential pieces of equipment, as are traffic cones, high visibility clothes, safety glasses, and gloves for safeguarding the work site. To install the bumps, you will need the appropriate fasteners, such as extension bolts for asphalt, concrete screws or epoxy bolts for concrete, and stakes or ground spikes for dirt roads, depending on the surface.
Foundations on soft ground are supported by gravel or sand, materials are linked together with asphalt, cement, or epoxy, and a sealant is used to prevent water from seeping in around the edges. Prefabricated speed bumps composed of rubber or plastic are frequently utilized for rapid and simple installation. Additionally, you will need a concrete mixture, wooden forms, and the equipment required to correctly shape and smooth the material in order to produce personalized and custom concrete bumps. With the correct equipment and careful planning, a firm may be safe, robust, and compliant with the law.
How To Install Speed Bumps And Humps On Different Roads
1. Speed Bump Installation on Asphalt Roads
Step 1: Planning & Permissions
Observe any recent municipal regulations pertaining to traffic management equipment. Permits are required in numerous locations. Seek for appropriate locations near intersections, schools, or hard corners. Verify that the surface is level and free of any obstructions.
Step 2: Marking & Cutting
Mark the locations of the bumps with chalk or spray paint. There is no need for any slicing if you only create surface lumps. For extra lumps, make little incisions along the edge using a circular saw. You will be able to locate them more easily as a result.
Step 3: Get the Space Ready
Clear the floor of any garbage, debris, and oil. Dig out the stamped area and lay a solid rock foundation to give high bumps stability and drainage.
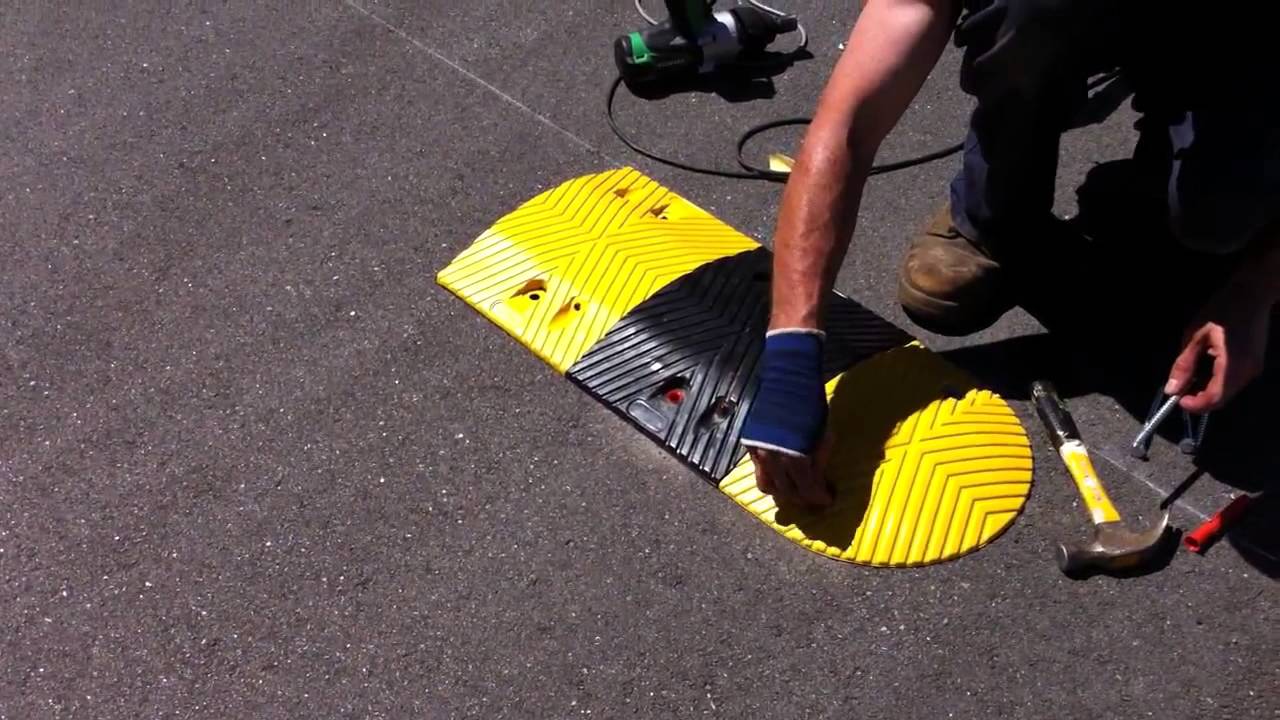
Step 4: Install and Secure the Surface Bump
Apply a thick layer of blacktop cement to the bump’s base and press it into place. There is common question arises can I install speed bumps on my street? Answer is very simple, yes you can. Installing rebar spikes or embedding development bumps into the asphalt by drilling holes in them with a brick drill are two options, depending on the type of bump. Verify that any bumps have been correctly corrected. To stop lifting and keep water out, apply black sealer along the edges.
Step 5: Curing & Testing
- Before curing and testing, let the cement and sealant dry for 24 to 48 hours.
- Drive gently to keep an eye on growth.
- To warn drivers, use road markings and sensible signs.
2. Installation Speed Humps on Concrete Roads
Step 1: Planning & Layout
- To make sure you follow all rules and stay safe, start with getting authorization from the local government. Assist activity engineers in choosing the best spot by considering factors including visibility, activity flow, and proximity to important sites.
- If allowed, use chalk or spray paint to mark the bumps’ locations. The usual separation distance is between 100 and 500 feet, depending on the speed limit. To facilitate installation, standard stamp dimensions are 3 to 4 inches in height and 12 to 14 feet in length.
Step 2: Surface Preparation
- To remove debris, oil, and other impurities from the concrete surface, use a pressure washer. Make sure everything is securely fastened, and give it a full day to dry.
- To form the wooden shapes for the bump, use solid wood, like 2x4s. To hold the forms in place and make sure they match the specified measurements, use stakes. Use a level tool to check if it is straight.
Step 3: Anchoring
- To fill in holes, use a masonry bit on a hammer drill. Specific requirements should be met for the gap’s depth and distance (usually 3 to 4 inches deep). Clear the gaps of any debris to provide a firm hold.
- Concrete grips should be placed directly into the holes for mechanical stays.
Step 4: Attach Hump
- After filling in the spaces with epoxy adhesive, install threaded bolts. As directed by the manufacturer, let the epoxy set for a full day.
- Over the grapples, replace the bump and fasten it with steel bolts. Apply the right amount of pressure to avoid damage or bending.
- Use a concrete mix that has three parts aggregate to one part cement (3,000–4,000 PSI).
- Gradually add water until it becomes thick and manageable.
- To eliminate air pockets, fill the shapes with layers and tamp down with a scoop.
- After leveling it with a flat board, use a metal trowel to smooth it out. Rather, use a broom wrap to help keep things from slipping.
- To avoid cracks, cover with moist burlap or plastic for seven days and mist occasionally. As it is also beneficial for rubber speed hump installation process.
Step 5: Final Checks
- As a last check, tighten the bolts again after a day.
- Confirm that there are no sharp edges and that the bump is secure.
- Use smart plastic bands (white or yellow) on both sides.
- Post warning signs, such as “Speed Bump Ahead,” 50 to 100 feet ahead of the speed bump in compliance with local laws.
3. Speed Bump Installation on Gravel Roads
Step 1: Site Selection
Start by locating a suitable portion of the gravel road. It should be thick, level, and impervious to fracture and water retention. Because water flow can erode the soil and cause early damage or displacement, avoid construction in regions with inadequate drainage. So, let’s know how to get speed bumps installed on your street?
Step 2: Clear & Compact
Clear the space by getting rid of any plants, loose pebbles, and debris. After cleaning, compact the dirt using a machine or hand tool to provide a level, sturdy base. To keep the bump from shifting or sinking unevenly over time, a sturdy surface is necessary.
Step 3: Position & Anchor
Place the prefabricated speed bump in the center of the area you have prepared. Make any necessary adjustments to ensure that everything runs well. Use the holes in the bump to drive metal stakes or spikes into the ground below.
Step 4: Stabilize Edges
Cover the bump’s edges with nearby gravel to keep it there. Add stones or sand to make it heavier and more stable if it is empty. This helps prevent lateral motion, which is a result of cars’ weight. To make the bump stiffer and level with the road, pack the soil tightly around it.
Step 5: Test & Signage
After construction is complete, drive a car over the speed bump slowly to assess its strength. Check for any movement or vibrations. Place clear warning lights in front of the bump to notify drivers and complete the installation.
Speed Hump & Bump Key Considerations for All Road Types
Traffic Control
To ensure the safety of drivers and employees, keep a watch on local events. To mark the work area, use warning signals, barriers, caution tape, and cones. There should be clear signage alerting drivers to the ongoing construction, and assistance should be available if necessary.
Safety Gear
Make sure you have the required safety equipment before you begin. Workers should wear safety glasses, thick gloves, and bright shirts or vests so that drivers can see them quickly. Hard helmets and steel-toed boots may be necessary, especially in congested or occupational environments.
Maintenance:
The longevity and functionality of speed bumps depend on routine maintenance. Check installations frequently for deterioration indicators like faded labels, rotten borders, or broken pieces. Given the potential impact of the moving surfaces on the stability and position of the bump, Gravel road installations ought to be inspected more frequently. Maintenance services enable the community’s street rules to be upheld and residents to be protected.
Conclusion
Installing speed bumps correctly is essential to preserving street safety and progressively reducing vehicle speeds. Whether you are working on gravel, concrete, or asphalt roads, making sure everything is sturdy and compliant with rules requires that you follow the right methods for planning, organizing, securing, and testing. Regardless of the kind of road, you may achieve great and reliable results with the right equipment, methods, and attention.
Jackwin is your the reliable, high-quality, certified speed bumps supplier in China you are searching for. Being manufacturer and supplier of traffic safety products in China our products are ideal for extended usage on any kind of road because they are constructed with durable materials and come with simple installation instructions. For more information about all of our traffic safety products and professional assistance with your upcoming installation project, get in touch with Jackwin right now.

