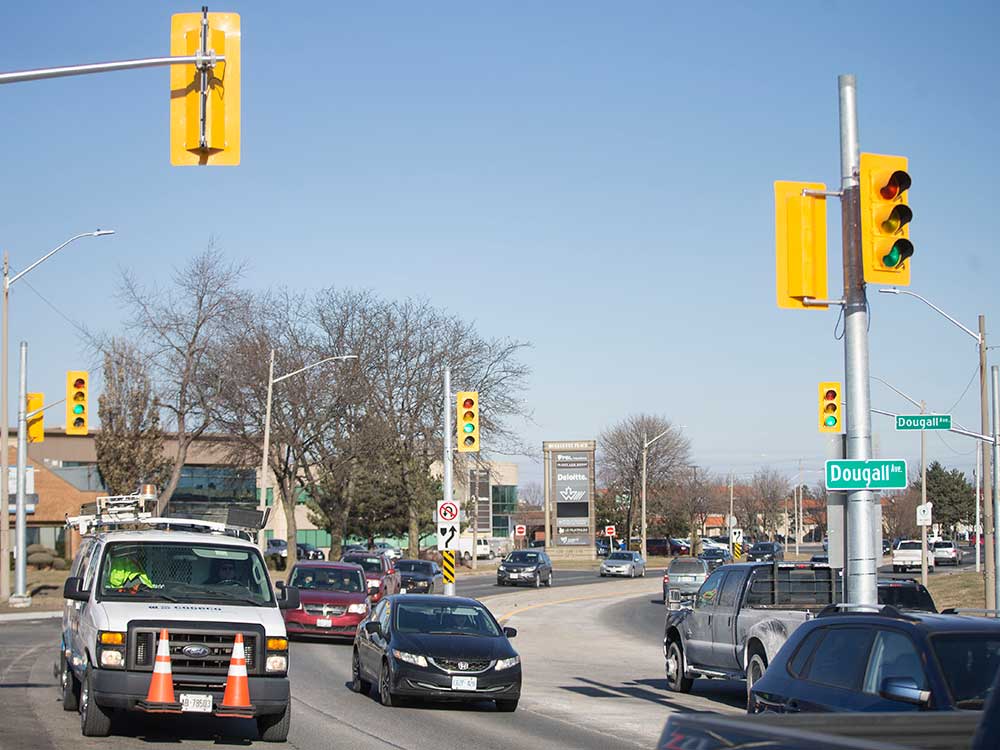
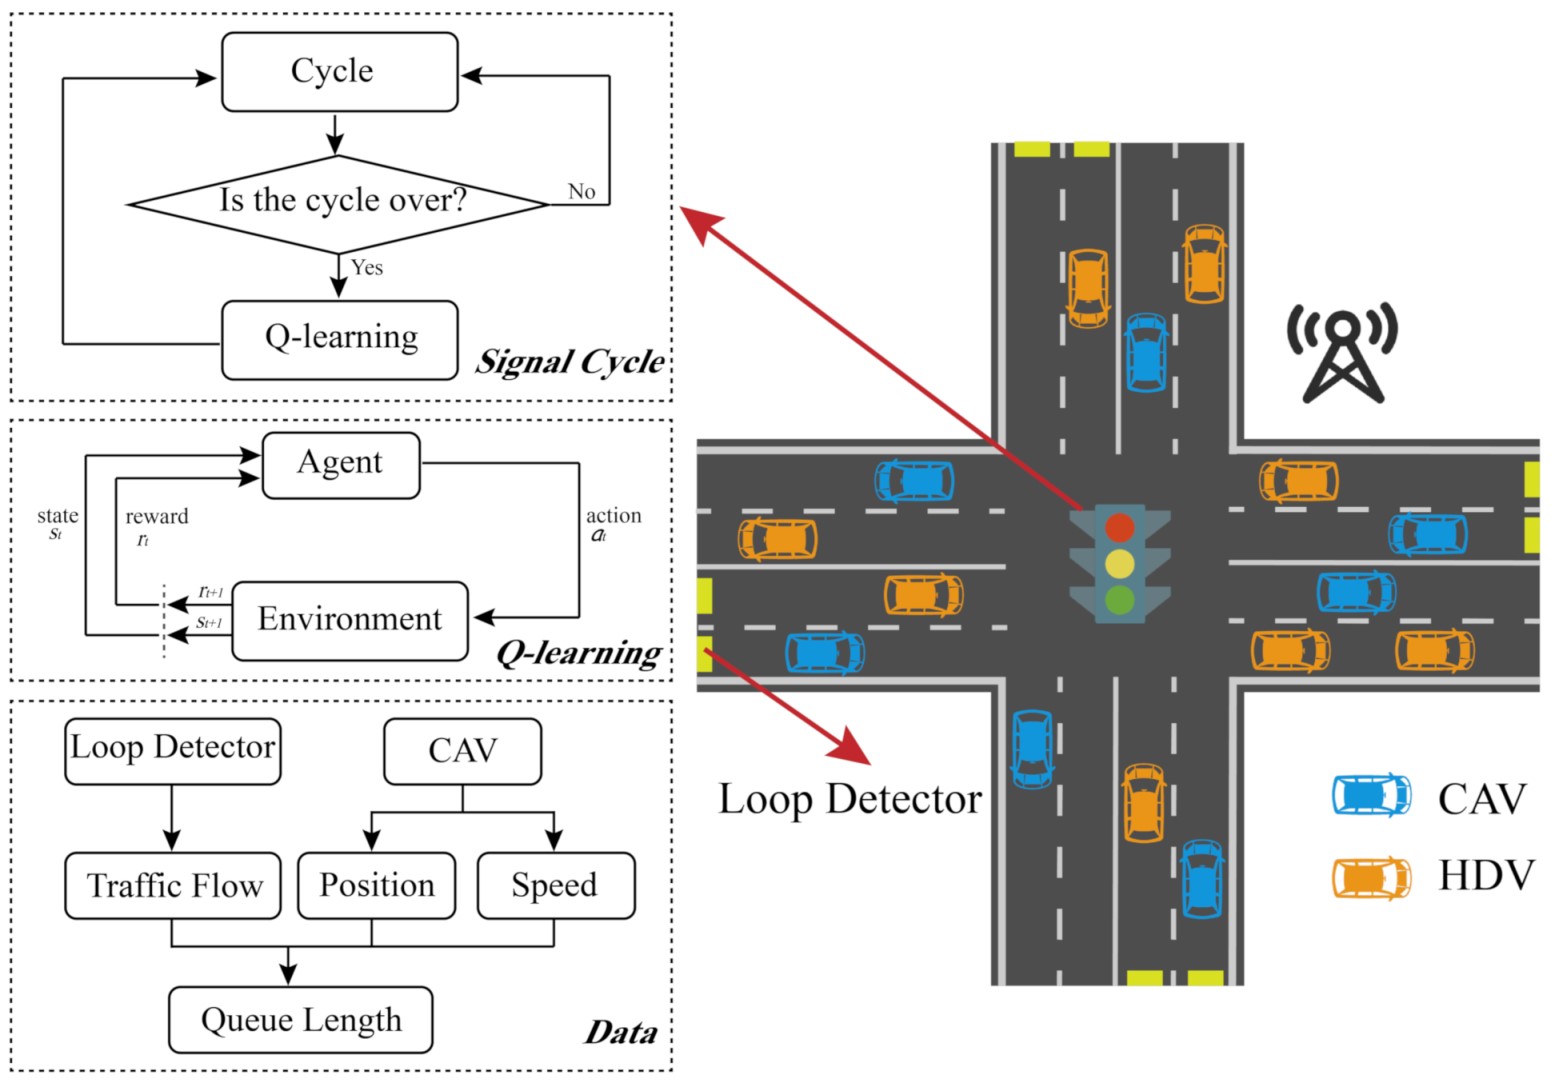
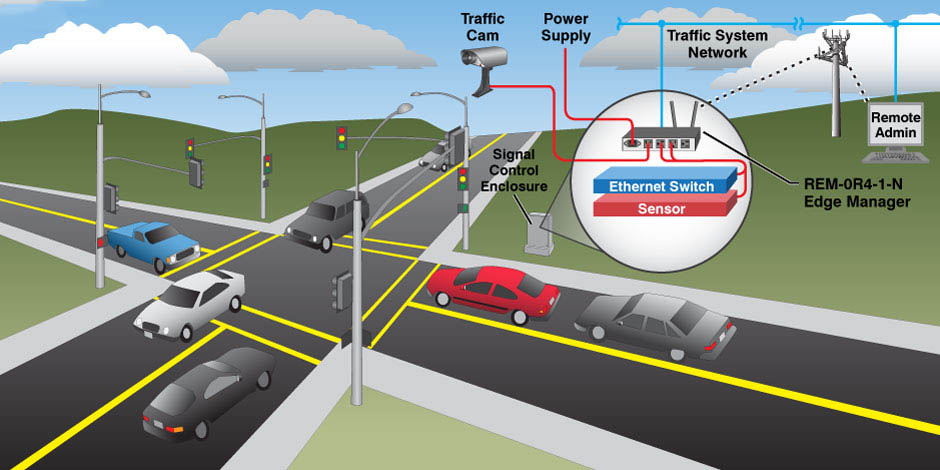
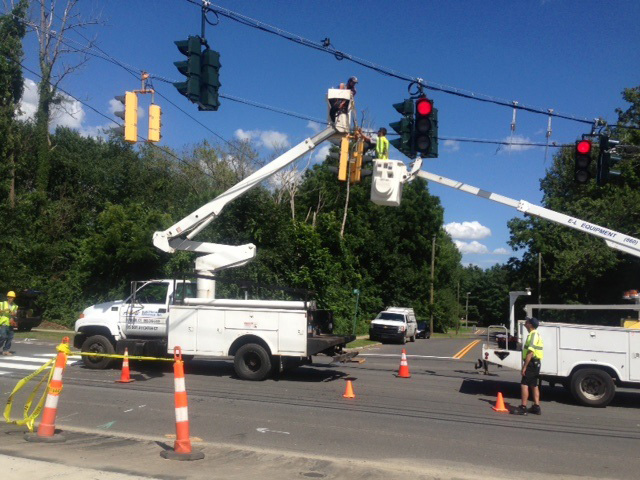
Installing traffic signal lights correctly is essential for road safety and smooth traffic flow because poor installation or faulty wiring can cause confusion between drivers and increase the risk of accidents.
In this guide, we’ll explain the step-by-step process on how to install traffic signal lights at intersections. By the end, you’ll also have answers to the most asked questions by traffic and electrical engineers and facilities.
How to Install a Traffic Signal Light? – Traffic Signal Design
The process of installing traffic lights involves several phases, from evaluation, approval, design, installation, and even maintenance. The main goal is to manage vehicle and pedestrian traffic efficiently and significantly reduce accident chances, and that’s why each phase matters. Now let’s go through each phase one by one.

Step 1. Data Collection: What Are the Factors to Be Considered for Installation of a Signal?
The first step to install a traffic signal is data collection of that intersection to confirm if the signal lights are actually needed at the intersection. Here’s a compiled list of all the factors that you must evaluate and consider:

- Traffic Volume: Analyze how many vehicles pass through that intersection daily and generate an estimate of the traffic volume value.
- Pedestrian and Cyclist Activity: If many people walk or ride bikes across the road, a traffic light helps in providing safe crossing opportunities.
- Safety and Crash History: Look at the crash history at that intersection. If several serious accidents have happened in previous months, it’s a strong sign that a traffic light is needed.
- Delay and Efficiency: If vehicles coming from side roads are waiting too long to merge or even cross, a signal light is obviously needed to properly regulate traffic flow.
- School Crossing: If students regularly cross the road or intersection, especially during school hours, a traffic light is a must-have.
- Coordinate with Adjacent Signals: If the spot where you’ll install a new signal is close to existing ones, it should be timed and synced with them so in case of failures, backup lights operate and control traffic.
- Compliance with Local and National Guidelines: It’s vital that the traffic lights you install meet national and city guidelines (like the MUTCD in the U.S.).
Evaluating these factors is crucial because not every intersection needs a traffic light. If you install one where it’s not needed, it can waste public funds, cause rear-end accidents, and frustrate drivers.
Step 2. Design the Traffic Signal System Layout
Once the data is collected, it’s time to pinpoint existing issues, analyze the traffic data, design the layout, and plan the traffic signal implementation.

Identify Problem Areas
Your engineering team should use the collected data and observe peak-hour traffic to identify bottlenecks or frequent backups. Also, use crash data to find out if specific movements (e.g., left turns) are prone to accidents.
You should also assess if pedestrians or cyclists face difficulties crossing safely, or if they need to wait longer for a clear intersection. Also, inspect for obstructions like trees or signage that may hinder signal visibility.
Collect and Analyze Traffic Data
Next up, analyze the traffic patterns so you can do effective signal phasing and timing. For that, first, measure the number of vehicles per movement (straight, left, right) during various times. Next, count crossings to determine the need for dedicated phases or crossings.
Then, do speed studies after assessing the average and 85th percentile speeds at intersections. Also, measure how far traffic backs up during peak periods.
Develop the Signal Phasing Plan
The next step is to determine signal timing or phases with the aim of managing conflicting movements safely. For that, first, there will be a need to separate conflicting movements into different phases. Afterward, incorporate dedicated pedestrian phases where necessary. Lastly, plan and allow certain movements at intersections to share green time when safe.
Determine Signal Timing Parameters
After developing a signal phasing plan, calculate the optimal timings for each phase. This includes:
- Cycle Length: Total time for all phases to complete at once.
- Green Time: Duration of the green signal for each movement.
- Yellow (Amber) Time: Transition time exactly between green and red signals.
- All-Red Time: Time when traffic from all approaches has a red signal to clear the intersection.
Design the Physical Layout
After doing all the planning and evaluation, the team needs to plan and design the placement of signal lights. The ideal place to mount a traffic signal is at Signal Heads for maximum visibility or on Poles and Mast Arms, which is a traditional method.
You can also utilize detection devices along with traffic signals for vehicle detection. Or at a pedestrian crossing, Push Buttons or Signals can also be used.
Simulate and Evaluate the Design
Though not a mandatory yet ideal approach to simulate the proposed design and create a traffic sign documentation. For that, you can use any traffic modeling software. This helps you test the design under various scenarios. When needed, engineers can also refine the design based on simulation outcomes to further optimize performance.
Step 3. Obtain Traffic Signal Approval from Local Authorities
After going through the data collection and designing processes, there will be a need to obtain formal approval from the local transportation authorities. Several countries like the U.S., U.K., Canada, and Australia require engineers to prepare a comprehensive design brief and submit a design file documenting the entire plan and design of the traffic signal installation process.
The concerned authorities will then review the data to ensure it aligns with established guidelines and warrants. If the criteria are met, your request will be granted and the team can proceed with signal lights implementation.
Step 4. Prepare the Installation Site and Get Equipment
Since the traffic light installation process will be on the public road, you need to have a 6-10 member team to manage the installation process without affecting the traffic flow. While we discuss the installation process, first, it’s crucial to ensure your safety.
For that, ensure all crew members wear ANSI Type R Class 3 high-visibility vests, so the team is seen on the road. Also, wear hard hats, safety glasses (must for electrical engineers), gloves, and even steel-toed boots. After the team is ready, prepare the installation site.
Prepare Installation Site for Signal Lights
- First, identify and mark underground utilities. This helps prevent damage during excavation.
- Now dig foundations for signal (vertical) poles as per design specifications.
- For foundation installation, pour concrete bases and wait for an adequate curing time (typically 28 days) before mounting the poles.
Important: Before preparing the installation site, set up cones, barriers, and signage. Doing so helps to redirect traffic safely around the work zone.
Gather Necessary Equipment
Here’s a compiled list of what the team might need:
- Signal Poles and Mast Arms
- Signal Heads
- Controller Cabinets
- Conduits and Wiring
- Detection Systems
- Aerial Lifts (for installing overhead equipment)
Step 5. Step-by-Step Process to Signal Light Installation

-
Install Traffic Signal Poles
Firstly, ensure that the concrete foundation that the team poured (typically 28 days) before has cured properly. Also, the anchor bolts are correctly positioned and aligned.
- Next, put leveling nuts onto the anchor bolts and properly set the baseplate at the desired elevation.
- Next up, use a crane to lift the pole and then carefully position the pole onto the leveling nuts.
- Afterward, place washers and nuts onto the anchor bolts exactly above the baseplate. Make sure to tighten them to secure the pole firmly.
- Then, access a plumb line or level and check the pole length to ensure the pole is perfectly vertical. Adjust the leveling nuts (if necessary).
- After installing the pole, fill in the gap between the baseplate and the foundation with non-shrink grout. Doing so is crucial to provide additional stability and prevent water ingress.
-
Install Mast Arms and Traffic Signal
Now is the time to install the Mast (horizontal) Arm and traffic signal head. But before that, inspect the mast arm for any damage. Also ,ensure that all mounting hardware is available beforehand. To install the Mast arm:
- First, align the mast arm with the mounting bracket on the vertical pole. Then, use bolts and firmly secure the mast arm, but be aware not to fully tighten them.
- Next, adjust the mast arm to the specified angle. This ensures that the arm is properly level.
- Then, tighten the mast arm using bolts (following the equipment’s manufacturer-recommended torque specifications).
- After the mast arm installation is done, it’s time to mount the traffic signal heads and any other equipment (if any) onto the mast arm. For that, attach brackets, clamps, and bolts to securely fasten and properly align the signal head.
-
Run Wiring Through Traffic Signal Heads
- Pull wires from the controller cabinet through conduits to each signal head one by one.
- Within each signal head, carefully connect the wires to the appropriate terminals.
- Use terminal blocks and crimp connectors to connect (as specified).
- After wiring, test each signal head to confirm if the wiring is run properly.
Note: Ensure all wiring complies with the state or local electrical codes and standards.
-
Install the Signal Controller and Program the Timing
- First, place and mount the controller cabinet on a concrete pad exactly near the intersection. Make sure it’s level and securely anchored.
- Next, connect the controller to the electrical power source. Make sure the power source has proper grounding and surge protection.
- Afterward, place the remaining components inside the cabinet. This includes traffic signal controller, conflict monitor unit (CMU), and other necessary components.
- Then, connect the field wires running through the signal heads and detection systems (if attached any) to the appropriate terminals in the controller.
- Now is the time to program signal timing. For that, use the controller interface and input the desired signal timing parameters. Make sure to input those signal parameters that the team evaluated in step #4.
- After setting the timing, run the controller in test mode. Now, verify if all phases operate correctly and timing sequences are correctly functioning.
Once sure the controller and timings are configured correctly and functioning (as planned), proceed!
-
Connect the Power Supply and Backup Systems
A certified electrical engineer should only perform and connect traffic signal cabinets to the power source and the signal light installation process. To avoid signal blackout during power outages, install a UPS system, only if the budget allows and is permitted by higher authorities.
After installation, test the entire power setup, including the main one and the UPS, to ensure proper operation under normal power conditions.
Alert: The engineer must regularly do maintenance checks to ensure stable battery health and system reliability.
-
Perform Final Inspections and Testing
After power source testing, it’s advisable to conduct comprehensive system testing. This includes inspecting all components (signal heads, controller programming, power source) and ensuring they are functioning correctly.
To get a final approval before activating the signal for public use, engineers should also coordinate with local authorities. They will do a final walkthrough and approve, if everything is in order.
Important: All documentation, including test results and inspection reports, should be archived for future reference and compliance verification.
-
Assign a Signal Light Technician for Ongoing Maintenance
The final step in the traffic signal installation process is to assign a qualified signal light technician for ongoing maintenance. This technician’s job is to regularly check the signal light system. Plus, do emergency repairs and troubleshooting to ensure that the system remains fully operational all the time.
How Much Does It Cost to Install a Traffic Light System?
Well, generally, it costs between $200,000 and $500,000 or maybe less. The mentioned cost includes the expense of all equipment from signal heads, controllers, poles, to labor work. About annual maintenance and electricity cost, it ranges around $6,000-8,000 per year. However, the exact price range may vary based on brand, system complexity, and your location.
How Long Does It Take to Install a Traffic Light?
The entire process can take from several months to over a year because the entire process involves several phases, such as engineering studies, data collection, design development and approvals, collecting funds, and even construction schedules.
How Are Traffic Lights Mounted?
Traffic lights are typically mounted on the mast arms structure using span wires or pole-mounted brackets. In some instances, like in retrofit projects, narrow intersections, low-traffic intersections, or due to budget constraints, traffic lights can also be mounted with span wire. This approach is the best alternative to mast arms and is also a cost-effective solution.
What Is the Role of a Signal Light Technician?
A signal light technician’s role is to manage signal light electrical-related tasks. It includes tasks from installation, maintenance, to repair of traffic signal systems. Their duties also involve setting up signal controllers, troubleshooting malfunctions, and performing routine inspections. Plus, ensuring that each procedure on the signal light complies with safety standards.
How Much Does a Single Traffic Light Cost?
The cost of a single traffic light unit varies between manufacturers, locations, and specifications. For instance, a 3-section, 12-inch LED signal head costs you around $800. The 5-section version approximately costs around $1,300. Adding extra components may further increase the overall expense.
How Much Does a 4-Way Traffic Light Cost?
Though prices may vary between brands and specifications, generally, they may range somewhere between $820 and $860. It could be even less, depending on the light features, size, and even whether it’s new or refurbished. However, it’s important to note that the mentioned prices are only for the signal lights, excluding installation or additional infrastructure costs.
Can You Use Arduino for a Traffic Light Setup?
Yes, the traffic light Arduino setup is the best approach to create simulated traffic light systems before getting approval from the concerned authorities. They let you program light sequences, integrate sensors, and help you analyze signal lights’ responses in different traffic conditions. However, they are not suitable for controlling actual traffic intersections.
Who to Contact About Traffic Lights?
For concerns or inquiries about traffic lights, engineers should always contact their local transportation or public works department. You can also contact state or provincial transportation agencies, as they are often responsible for handling traffic signal matters and already have enough information.
How to Get a Traffic Light Installed on an Existing One?
To request the installation of a new traffic light at an existing one, you need to follow the formal process:
- Submit a Formal Request: First, contact your local transportation authority with a detailed request. Ensure the report includes the valid reason for installation and the location where you want to get it installed.
- Traffic Study: The authority will then conduct a comprehensive traffic study at the site. The purpose of the study is to assess whether there is a need to install signal lights or not.
- Approval Process: If the study supports the need, the proposal will go through design, budgeting, and approval stages.
- Installation: Upon approval and allocation of funds, the signal light installation will be scheduled and executed.
Conclusion:
Traffic signal lights play a significant role in ensuring the safety of drivers and pedestrians at intersections. However, signal lights at intersections that can save road users and let traffic flow smoothly can lead to a big hazard, too. Therefore, adhering to the correct installation process is crucial to ensure safety and efficiency.


-80x69.png)

